
How to Repair Blown Speaker? How to Fix a blown speaker
Have you ever encountered with the aggravation of playing your preferred song from your speaker? It is certainly an unpleasant experience, particularly during a gathering or significant event and in the presence of your guests. Gaining knowledge on how to repair a defective speaker can spare you the inconvenience of prematurely substituting your audio apparatus. This article on Digimigia is designed in order to guide you how to repair a blown speaker through the processes of identifying, rectifying, and even averting speaker damage, and it is making you sure that your audio experience remains impeccable.
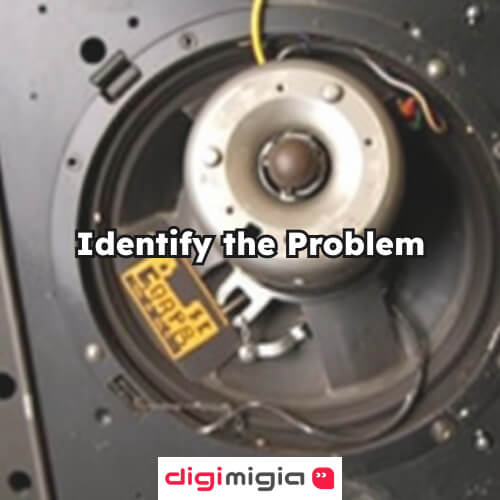
Identify the Problem
In order to identify a malfunctioning speaker, one must recognize signs that are indicating that the internal elements have failed. To diagnose and fix blown speaker, start by checking for obvious physical damage. Inspect the speaker cone for tears, holes, or any other visible issues. Listen for distorted or rattling sounds when the speaker is in use, as blown speaker sound can be indicators of internal damage. Additionally, blown speaker test will be done by swapping it with another one in your system to determine if the issue persists.
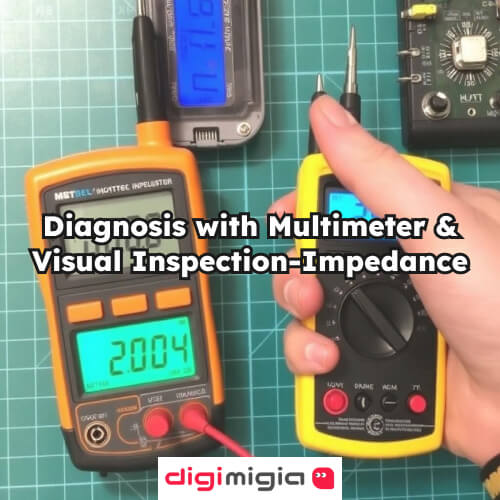
Diagnosis with Multimeter & Visual Inspection-Impedance, Tear Detection
A straightforward method to assess a speaker’s functionality is to evaluate its electrical response. Using a multimeter can help determine whether the cone or voice coil is malfunctioning. First, set the multimeter to measure resistance (ohms), ensure the speaker is powered off, and connect the meter’s leads to the speaker terminals. A reading of 1.0 ohms on the multimeter indicates the speaker is operational, whereas a reading indicating infinite ohms signifies that the speaker is blown. A fully damaged speaker will exhibit infinite impedance.
You should also inspect the speaker cone thoroughly for any rips, punctures, or other forms of physical harm. Check the surround (the flexible rim of the cone) for indications of wear or damage.
Gather Tools and Materials
When it concerns the upkeep and repair of a blown speaker, possessing the appropriate equipment for electrical troubleshooting is essential. How to fix a blown speaker at home? Whether you are a skilled electrician or a do-it-yourself fan, using the correct tools can be the difference between resolving an issue swiftly or experiencing a drawn-out challenge. To identify a damaged speaker, you’ll require instruments to evaluate both its physical and electrical state. This includes a multimeter to measure resistance, tools for visually inspecting for damage, and possibly audio testing devices. Additionally, you might need equipment, such as a screwdriver, to detach the speaker from its housing.
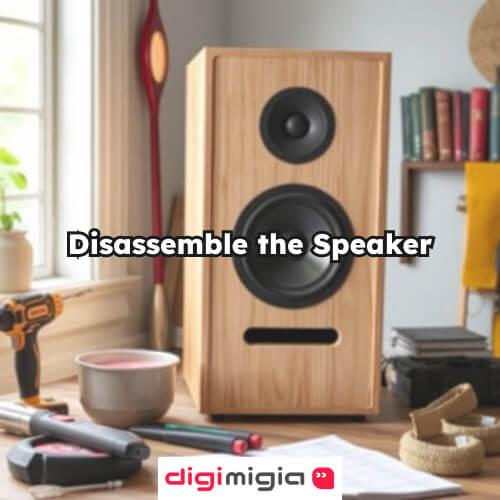
Disassemble the Speaker
Another way of fixing a blown speaker is to disassemble it. In order to take apart a damaged speaker, first make sure the power is turned off and disconnect any cables for power or signals attached to it. Next, gently detach the speaker from its housing, which might involve unscrewing the mount screws or removing a protective cover. When the speaker is open, you can examine the diaphragm, voice coil, and other elements for any harm. If you detect minor issues, you might be able to fix them using specialized glue or adhesive. However, if the damage is significant, particularly to the voice coil or spider, you might have to replace the whole driver unit. Be careful while taking apart the speaker to prevent harm to other components. A utility knife can be utilized to create a small opening where the dust cover is attached to the paper cone, and then gently separate it by hand.
Repairing the Speaker Cone
After identifying the issue, you can move forward with fixing or replacing the broken parts. If the speaker cone is harmed, consider buying a recone kit tailored to your speaker model. Gently take out the damaged cone, voice coil, and spider, and thoroughly clean the speaker frame before fitting the new parts. For minor damages such as small tears or holes in the cone, you can use a specific speaker repair glue or adhesive to mend them. If the voice coil is damaged, carefully unwind and replace it with one that matches the original specifications.
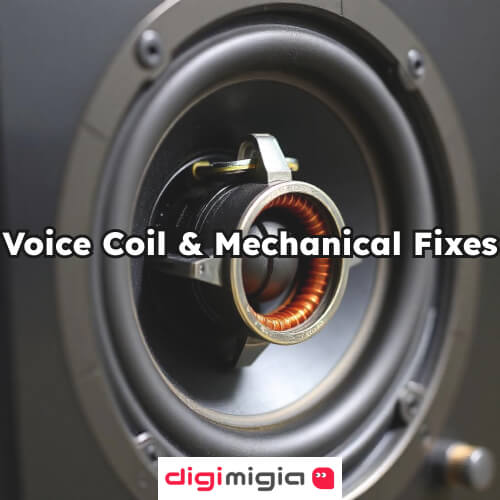
Voice Coil & Mechanical Fixes
If the voice coil has minor damage, you can attempt to repair it using a soldering iron. If the voice coil is significantly damaged, it is advisable to replace it entirely. Mechanical solutions for voice coil problems in speakers mainly involve dealing with issues such as tears, misalignment, or friction. Small tears can be mended with special speaker adhesive, but more severe issues like a broken voice coil typically require replacement. Ensuring the precise alignment of the voice coil during reassembly is essential for proper speaker performance and to avoid future complications. When replacing, make sure that the resistance and specifications of the new voice coil match those of the original.
Can You Fix a Blown Speaker?
If your speaker is blown, you might notice it right away. The sound might sound messed up, and unclear, or maybe you hear a loud crackling noise, that is depending on which part is broken. Sometimes, you might not hear anything at all, which could also mean the speaker is blown. In really bad situations, it might even catch fire, but that’s not very common. However, blown speaker repair depends on the type and extent of the damage. How to fix blown speaker? For fixing blown speaker, the simplest and cheapest way to fix it is to replace the damaged woofer or tweeter.
Most companies sell replacement parts, and even if they don’t, you can find a suitable one from a specialist that has similar features. It is possible to fix a blown speaker, and this process is called re-coning. However, this is usually only practical for more expensive woofers or those in instrument speaker cabinets. You would need to replace several parts like the voice coil, spider, cone, and dust cap, which means doing a full rebuild. For this to work well, the parts should come from the manufacturer, and it’s a fairly difficult job to do yourself.
Conclusion
Understanding how to repair blown speakers enables you to return your audio equipment to its original condition. By identifying the symptoms, comprehending the reasons, and adhering to a structured repair method that was mentioned in this blog on Digimigia, you can extend the lifespan of your speakers and enjoy excellent sound quality. Whether you choose to fix your speaker or purchase a new one, being knowledgeable will improve your listening experience.